We would like to take this opportunity to welcome you to our blog, where we will be delving into the fascinating world of ceramics and investigating its air dry clay, which is one of the most flexible materials. This post is perfect for you if you are an imaginative person who enjoys making things by hand and is passionate about sculpting.
We are all familiar with the feeling of exhilaration that comes with making something beautiful with our own hands, only to experience a twinge of regret when our artwork begins to crumble or dissolve when it is exposed to water throughout the process. On the other hand, there is no need to be concerned because we are about to reveal the techniques that can make air-dry clay waterproof.
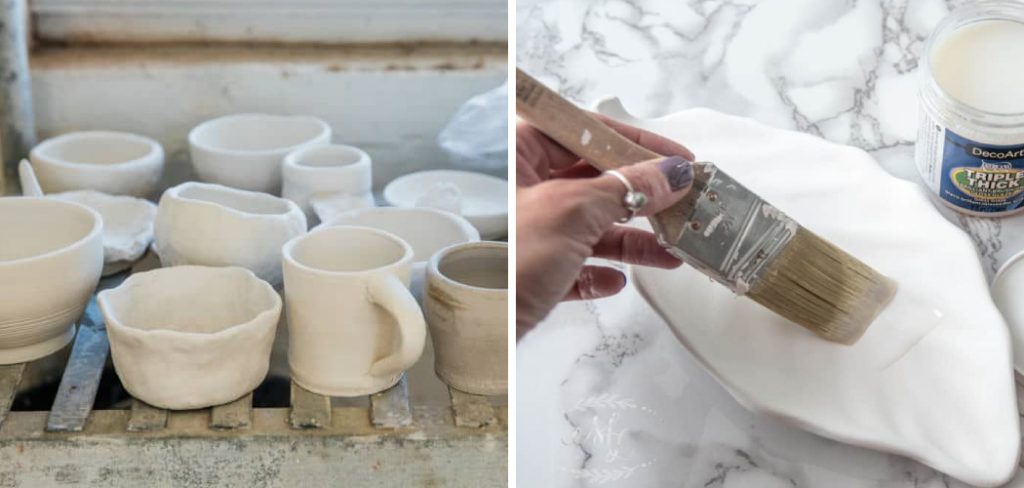
Whether you are an experienced ceramicist or a novice who is interested in experimenting with this enchanted material, we have everything you need to get started! Get ready to uncover a whole new level of confidence and durability in your clay creations by grabbing your apron, cleaning off your clay tools, and getting ready to unleash the power of clay. Say farewell to sculptures that are soaked in water and welcome to the world of waterproof wonders, let’s get started on the process of making air-dry clay waterproof!
Why Waterproof Air Dry Clay?
Let’s first get a better understanding of why it is necessary to make air dry clay waterproof before we go into the procedure of making it waterproof. The simplicity of usage and the fact that it may harden without the requirement for baking or fire in a kiln are two of the reasons why air dry clay is such a popular choice among designers and artists. On the other hand, one of the most significant drawbacks of this material is that it is susceptible to water damage.
Due to the fact that the majority of clay products that are air dry are not waterproof, they are susceptible to becoming softer, deforming, or even totally dissolving when they are exposed to water. Due to the short lifespan of air dry clay projects, it is not suited for certain applications, such as the creation of outdoor sculptures or in the production of useful products like planters or bowls. Because of this, it is essential to have the knowledge necessary to make air-dry clay waterproof if you want to extend the lifespan of your works and increase their adaptability.
Materials Needed to Make Air Dry Clay Waterproof
Let’s get together the supplies that are required for this method now that we have a better understanding of the significance of waterproofing air air dry clay. One piece of good news is that you most likely already possess the majority of these products in your possession.
Air Dry Clay:
This will serve as your foundation, and you can use any brand or type of material.
Waterproof Sealant:
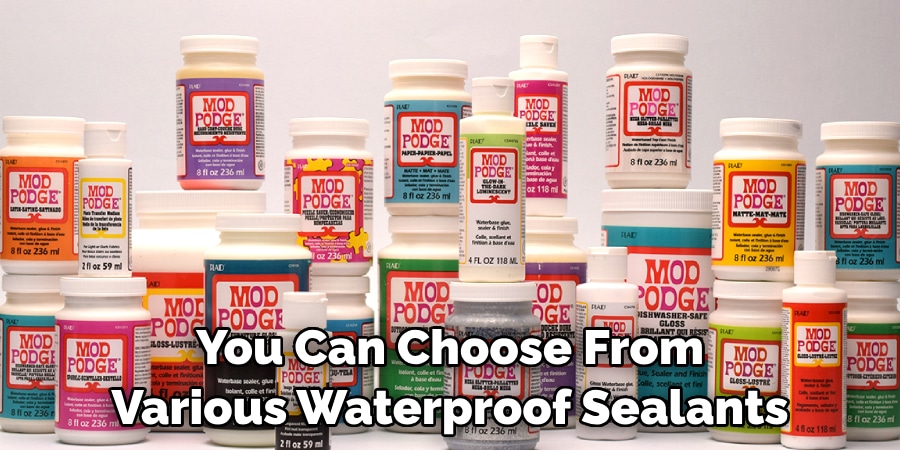
There is a wide selection of waterproof sealants available to you, including Mod Podge, clear nail paint, and even the standard waterproofing spray that is generally used for leather or fabric.
Paintbrush:
For the purpose of applying the sealant to your clay sculptures, you will require a paintbrush that is between a tiny and medium size.
Sandpaper (Optional):
Sandpaper is a useful tool to have close at hand if you want to achieve a smoother surface on your sealed clay.
It is all that you will require! As we move on to the next phase, which is to make air-dry clay waterproof, let’s get started.
11 Step-by-step Guidelines on How to Make Air Dry Clay Waterproof
Step 1: Prepare Your Air Dry
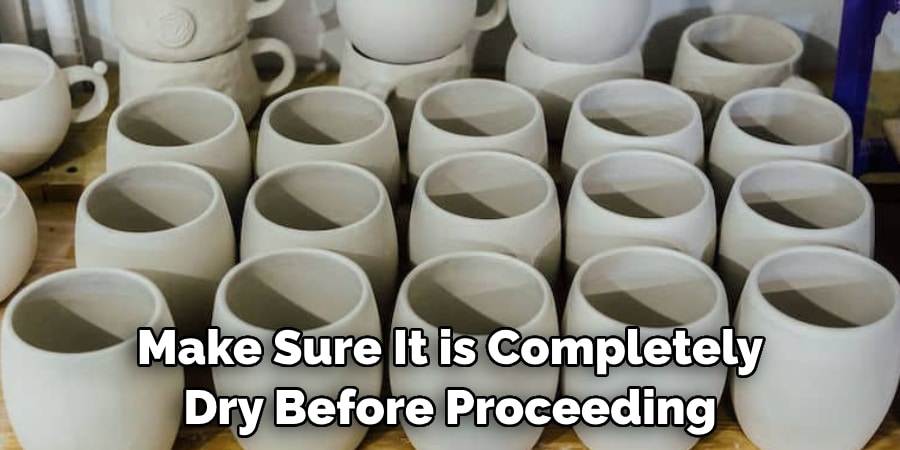
Check that it is entirely dry before moving forward with the process. Clay that is air dried typically takes between 24 and 48 hours to completely dry, although this time frame might change depending on the brand and the thickness of the product you are working on. It is possible to determine whether or not your clay is dry by tapping it softly; if it makes a hollow sound, you are ready to proceed. Allow it to dry for a longer period of time if it has a damp or cold sensation. The ability to begin with a surface that is entirely dry is essential in order to achieve a watertight seal. Because clay is moist, the sealer will not stick very well to it.
Step 2: Prepare Your Working Space
Use a sheet of plastic or newspaper to cover your work surface so that it is protected from any liquids that may leak. Due to the fact that some sealants may have a pungent odor, it is recommended to operate in an area that has adequate ventilation. Putting on gloves is another option for protecting your hands from any chemicals that may be present. Do not be concerned, however, as the majority of sealants are non-toxic and safe to use. The steps are merely for the sake of being extra safe. Because it may be difficult to see where you have applied the sealant if you are using clear nail polish, it is important to ensure that you are working in an area that has adequate lighting.
Step 3: Choose Your Sealant
A number of different waterproof sealants are available for your selection, as was indicated previously. As a result of its low cost and widespread availability, Mod Podge is a material that is frequently used by crafters. It is also available in a variety of finishes, such as matte and glossy, which can be chosen according to the appearance that you like to obtain. It is possible to use clear nail polish, which is ideal for smaller tasks and can work just as well. On the other hand, if you are waterproofing a somewhat greater surface area, it would be more practical to use a spray sealer.
Step 4: Shake Your Sealant
Be sure to give the container a good shake before opening it if you are going to use a paint-on or spray-on sealer. This will ensure that the sealant is completely mixed. In addition, if you are using a brush-on type of sealant, you might want to swirl it occasionally because it has the potential to split and become lumpy. In order to achieve the greatest possible results, it is vital to apply sealant in a manner that is both smooth and consistent. But if your sealant is already clumpy, you shouldn’t worry about it because we’ll cover how to correct that in a later section of this article!
Step 5: Apply the First Coat
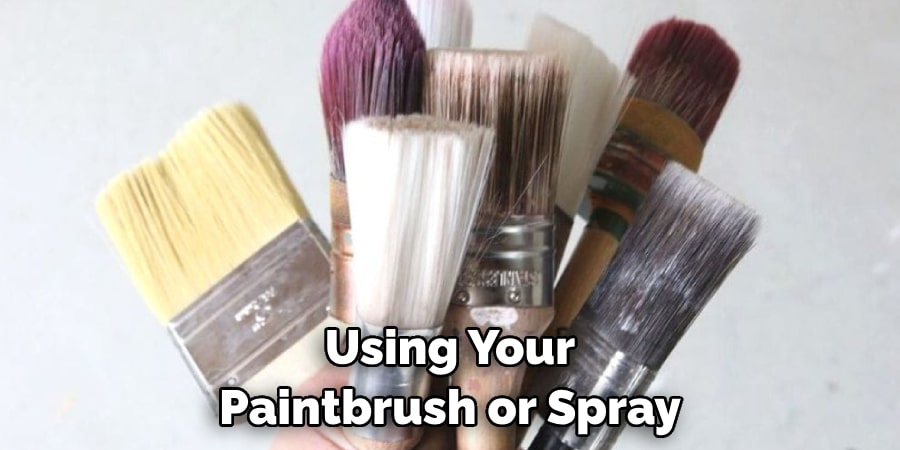
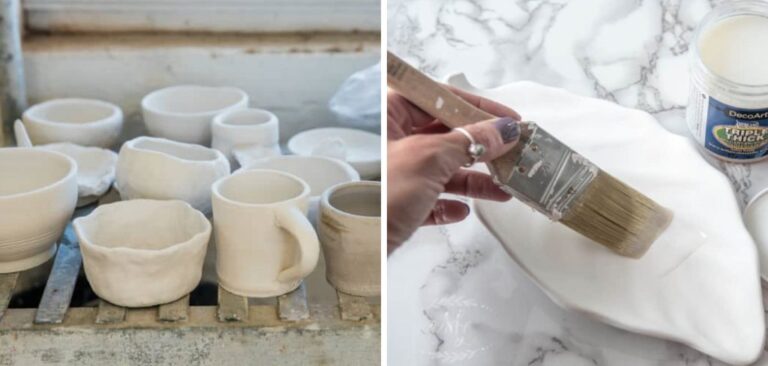
Applying a thin layer of sealant to your dried air dry clay with your paintbrush or spray is the first step in your process. In order to ensure that the entire surface is covered evenly, it is important to cover any little gaps or features. If you are using a sealant that is applied with a brush, it is imperative that you adhere to the direction of the strokes in order to get a flawless finish. When applying a spray sealer, it is important to avoid overspraying the product. There should be no puddles or drips on your clay because they could potentially impair the overall appearance.
Step 6: Let It Dry
After you have applied the initial layer of sealant, you must wait until it has completely dried before moving on to the subsequent step. A brush-on sealer typically takes around fifteen to twenty minutes to apply, while a spray sealant might take anywhere from thirty minutes to an hour to apply. For more exact drying timeframes, make sure to follow the recommendations on the label of the specific type of sealant you are using. Prior to moving on to the subsequent stage, it is absolutely necessary to wait until each coat has completely dried.
Step 7: Check for Imperfections
Check to see if there are any flaws or areas that might require additional coverage after the initial coat has had time to dry after being applied. In the event that you discover any locations that have not yet been sealed, apply a second, hardly noticeable layer of sealant to those areas and allow it to cure. It is possible that the number of coatings required will change based on the type of sealant you use and the thickness of the clay you use. Yet, in most cases, two to three coats should be sufficient.
Step 8: Optional Sanding
After the initial coat of clay has dried, you can lightly sand it if you want a smoother finish. This can be done after the clay has been sealed. In order to reach the appropriate level of smoothness, you should use sandpaper and sand in a circular motion while being gentle. Sanding can help eliminate any obvious brush strokes or bumps, although this step is completely optional because some sealants already have a smooth finish. Sanding can also help remove any potential bumps.
Step 9: Add Additional Coats (If Needed)
Proceed to the subsequent step if you are pleased with the outcomes that you obtained from the sanding process. If, on the other hand, you want a seal that is more long-lasting, you can repeat steps 5 through 8 and apply extra coats of sealant. Having a greater number of layers will provide your creation with a higher level of protection from water damage. When you want to add additional dimension to your clay, you may also opt to use a different finish for each coat. For example, you could use a matte finish for the first layer and a glossy finish for the last layer.
Step 10: Fixing Clumpy Sealant
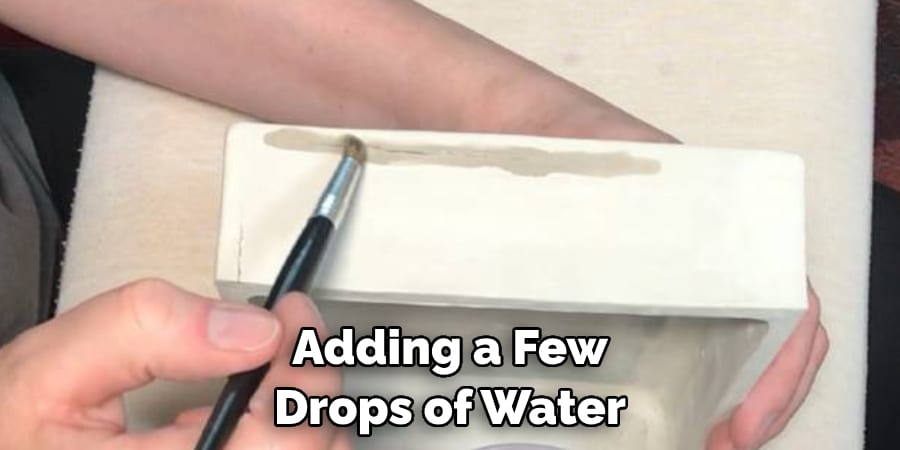
While you are working on your clay, you should not be concerned if your sealant has grown clumpy or if it has dried out. By adding a few drops of water to the sealant and thoroughly swirling it, you may rapidly repair this problem to your satisfaction. It is anticipated that this will assist in revitalizing the consistency of your sealant and making it simpler to apply. Add a few more drops of water until you achieve the appropriate consistency, if it is still too thick to be considered liquid.
Step 11: Let It Cure
After applying all of the necessary coats and ensuring that your clay is waterproof, please let it to cure for a period of twenty-four hours before exhibiting or utilizing it. Performing this action will guarantee that the sealant has completely dried and attached to the surface of the clay. And that’s it! At this point, you have a clay creation that is water-resistant and air-dry, which means that you may use it or show it without worrying about it being damaged by water.
As long as you follow these straightforward instructions on how to make air dry clay waterproof, you will be able to make any object made with air dry clay waterproof and long-lasting. By applying a waterproof sealant to your product, you can preserve it from water damage and give it a beautiful finish. This is true whether you are making a pretty figure or a dish that has a utilitarian purpose. Now that you are aware that your clay works are protected from the wind and rain, you can go ahead and create with complete assurance.
When it comes to achieving the ideal waterproof finish, it is important to not be afraid to experiment with various sealants and try out a variety of different ways. The projects you create with air-dry clay can be elevated to a higher level if you follow these guidelines. Have fun with your crafts!


0 Comments