Have you ever wanted to preserve your favorite memories in a unique and creative way? DIY photo books offer the perfect opportunity to do just that! Unlike store-bought albums, these handmade treasures allow you to infuse your personal style, crafting skills, and special touches to create something truly one-of-a-kind. Whether it’s for yourself, a loved one, or a special event, DIY photo books are the perfect blend of creativity and sentimentality.
Creating a DIY photo book may seem like a big task, but it’s surprisingly simple and incredibly rewarding. With just a few materials, some inspiration, and a bit of patience, you can craft a stunning photo book that tells your story. From minimalist designs to elaborate layouts, the options are endless. And the best part? It’s a fun, hands-on project you’ll cherish forever!
#1
Start with a Theme: Choose a central theme for your photo book, like a travel journey, family memories, or a special event, to guide your design and story.
#2
Plan the Layout: Sketch out a rough draft of your pages before you start. This helps you organize photos and text creatively.
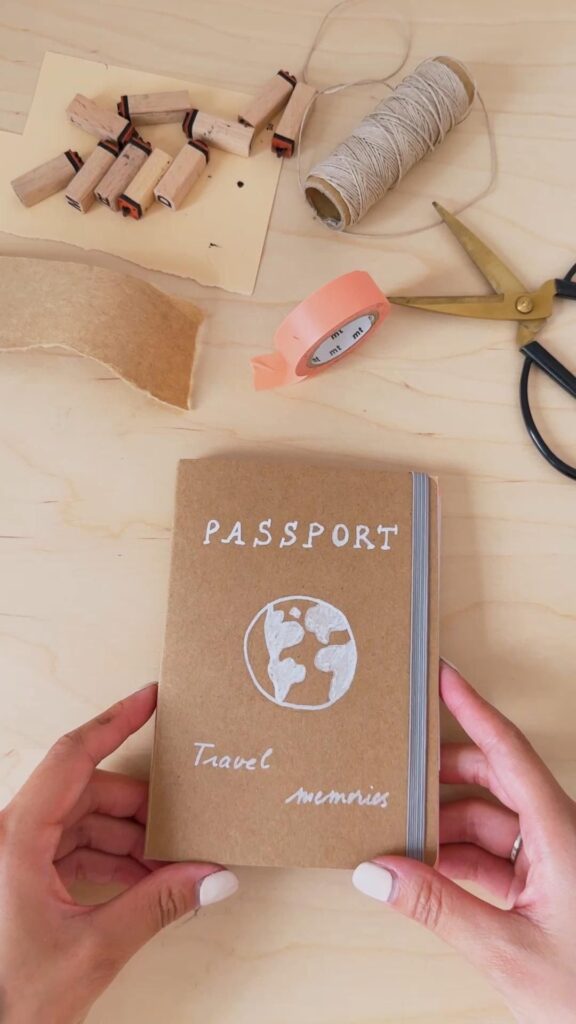
#3
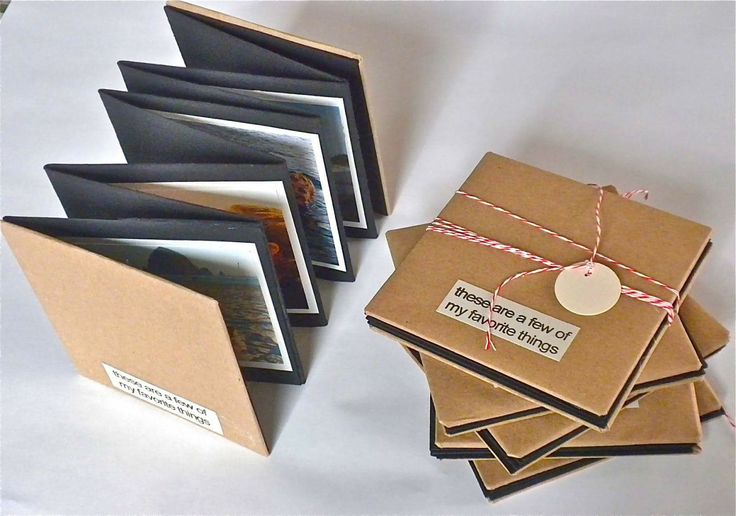
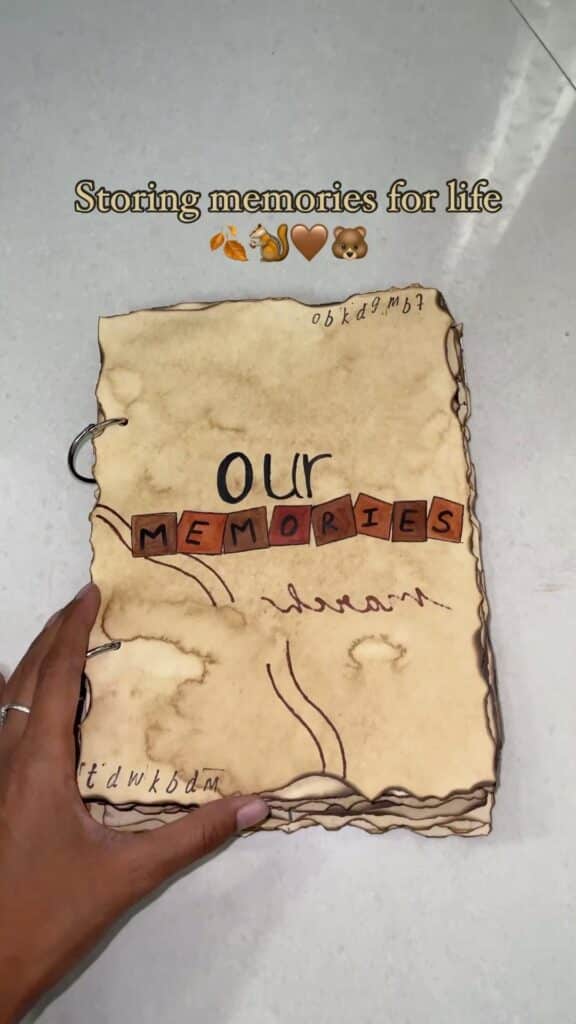
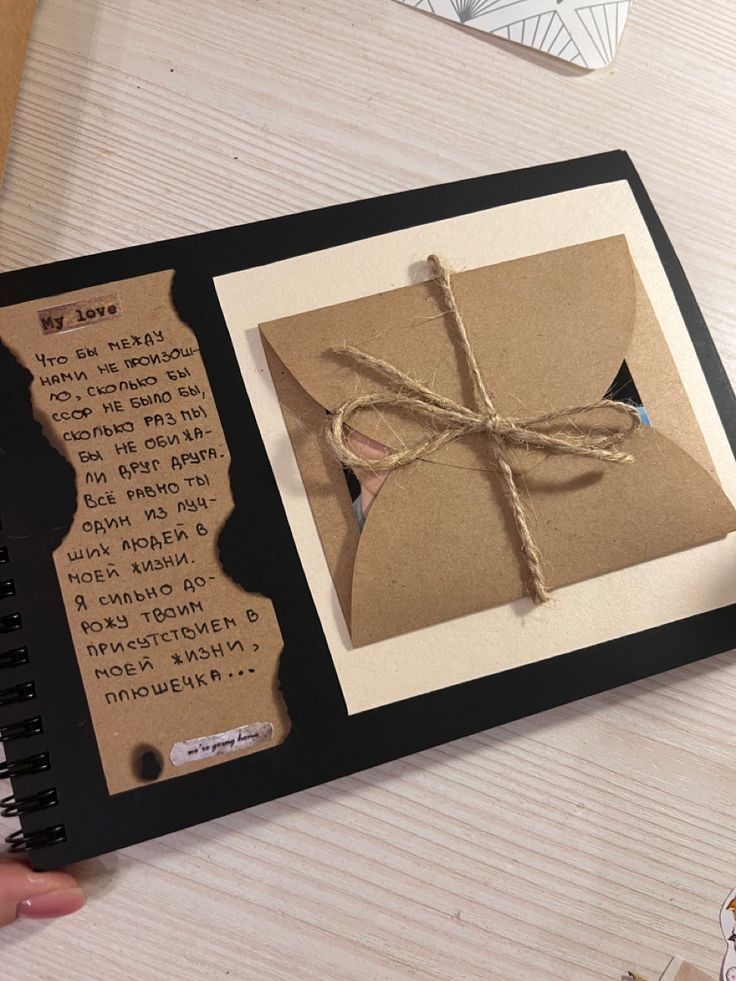
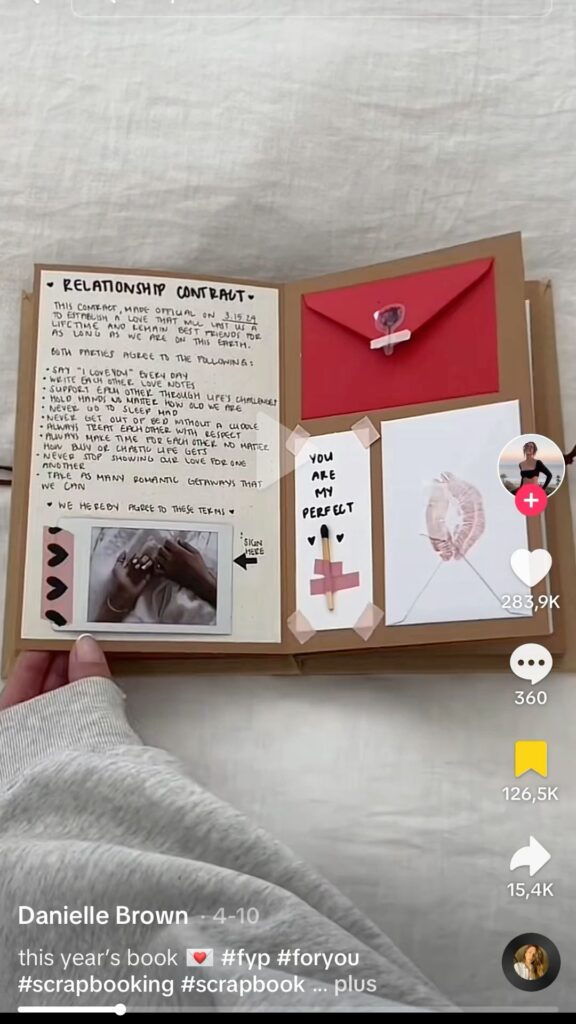
Use Recycled Materials: Incorporate materials like kraft paper, old cards, or fabric scraps to add texture and sustainability to your design.
#4
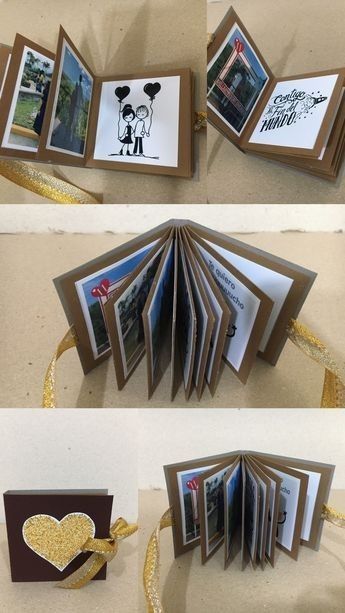
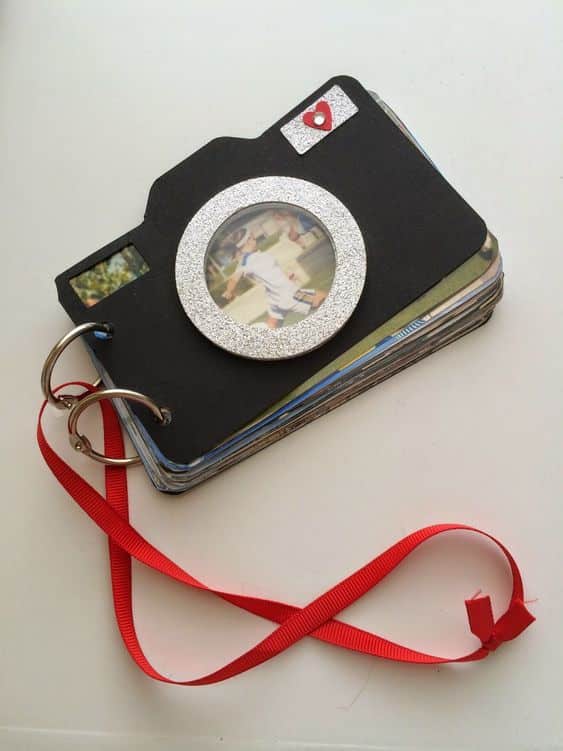
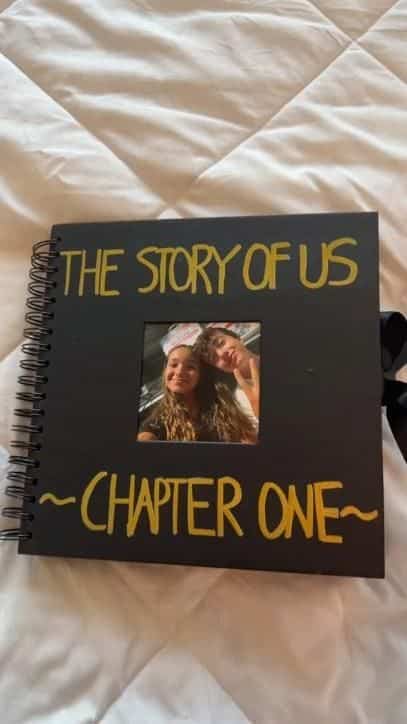
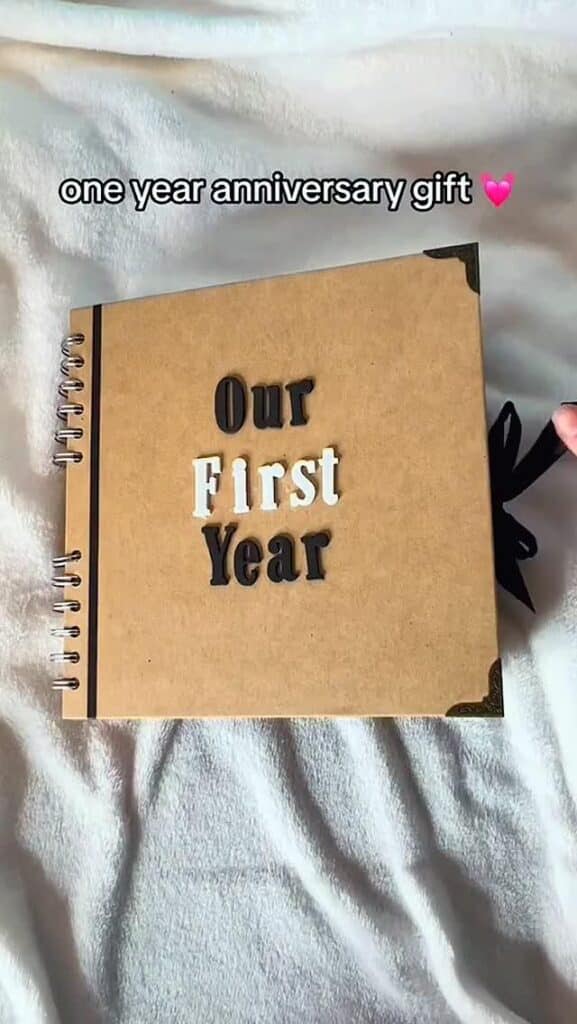
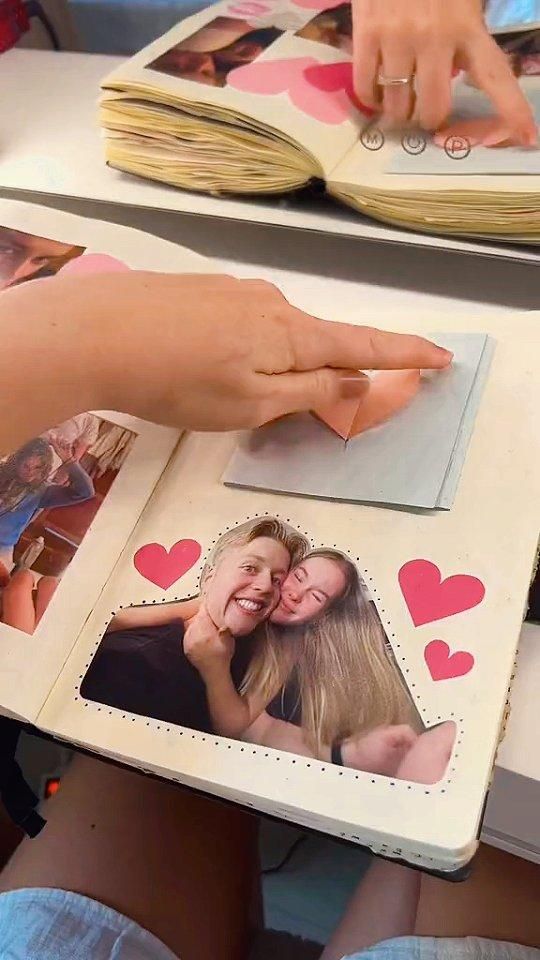
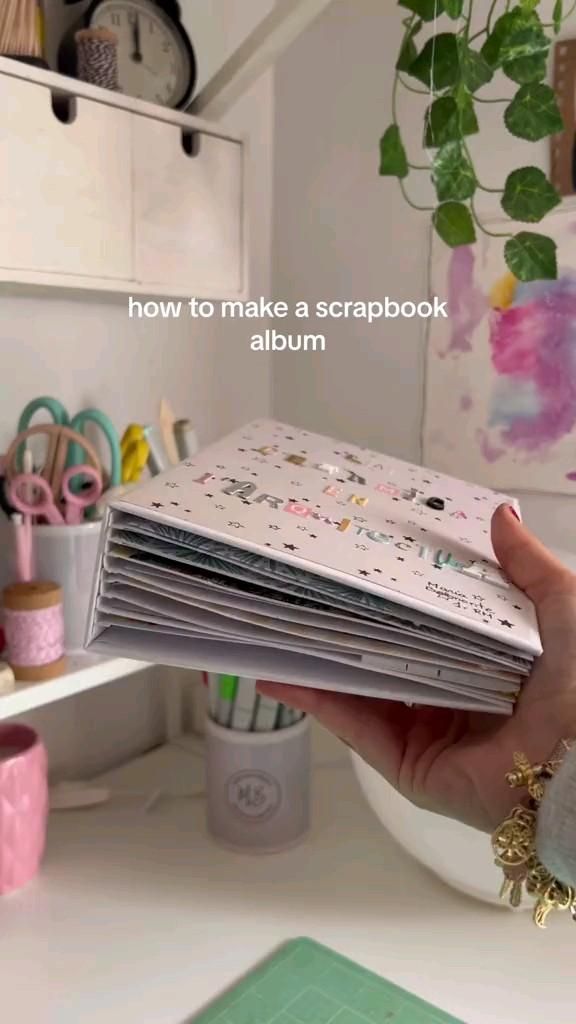
Personalized Cover Design: Decorate your cover with fabric, embossed designs, or even pressed flowers to make it stand out.
#5
Incorporate Handwritten Notes: Add a personal touch with handwritten captions, quotes, or even doodles next to your photos.
#6

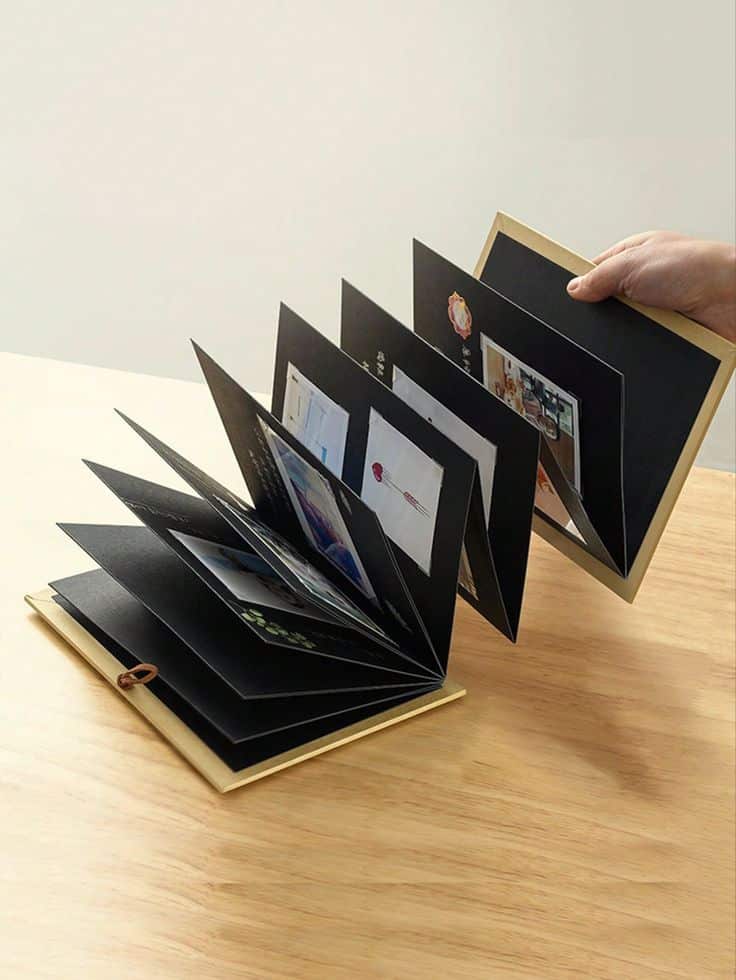
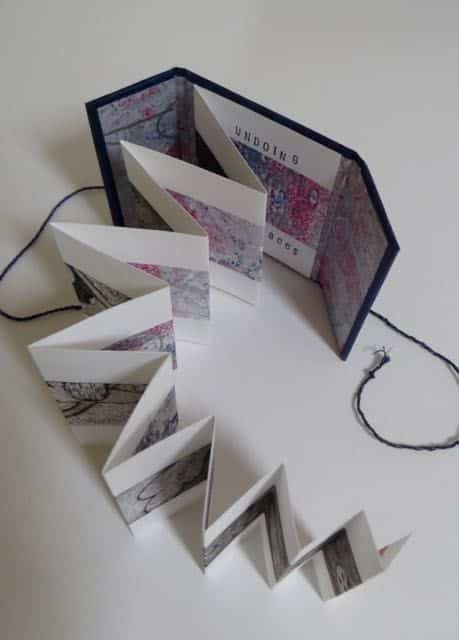
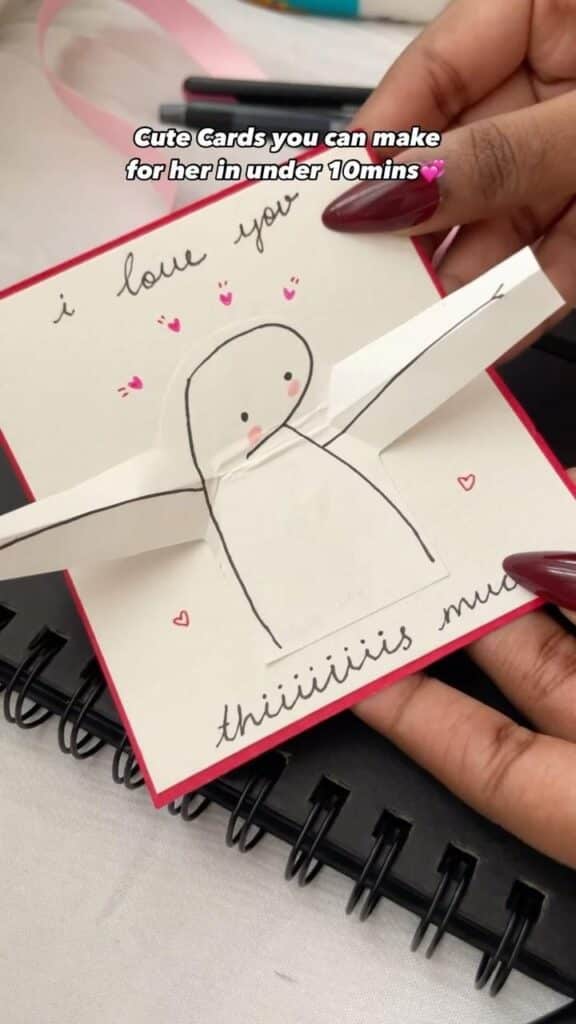
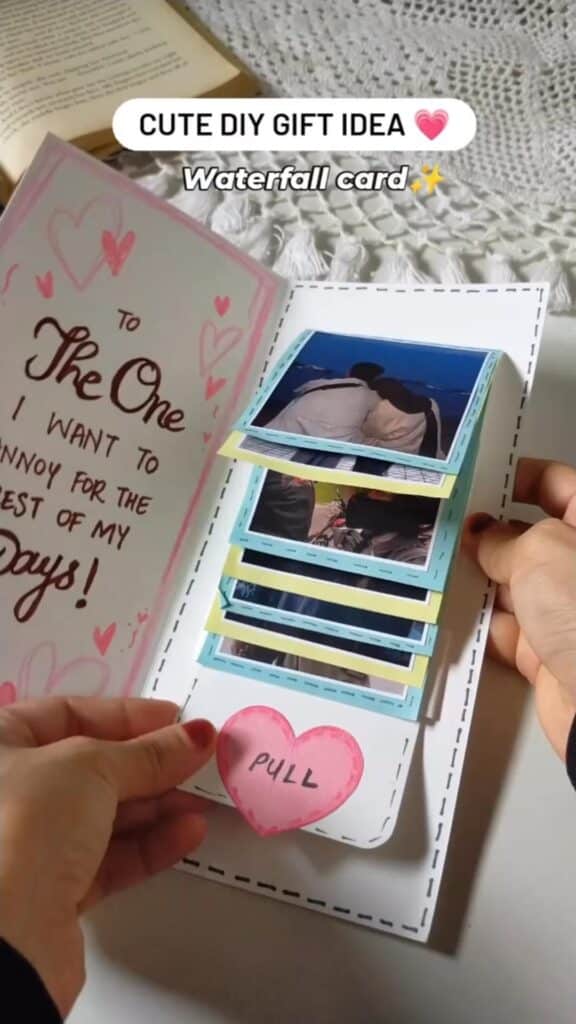
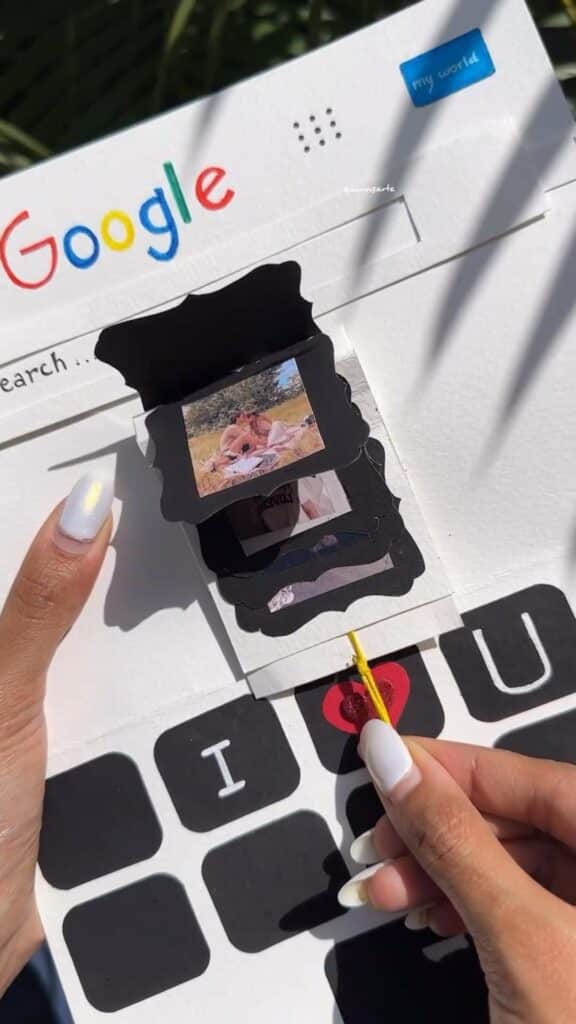
Experiment with Folding Techniques: Try accordion folds or pop-up designs for an interactive and creative twist.
#7
Add Pockets for Keepsakes: Include small envelopes or pockets to hold tickets, letters, or other memorable items.
#8
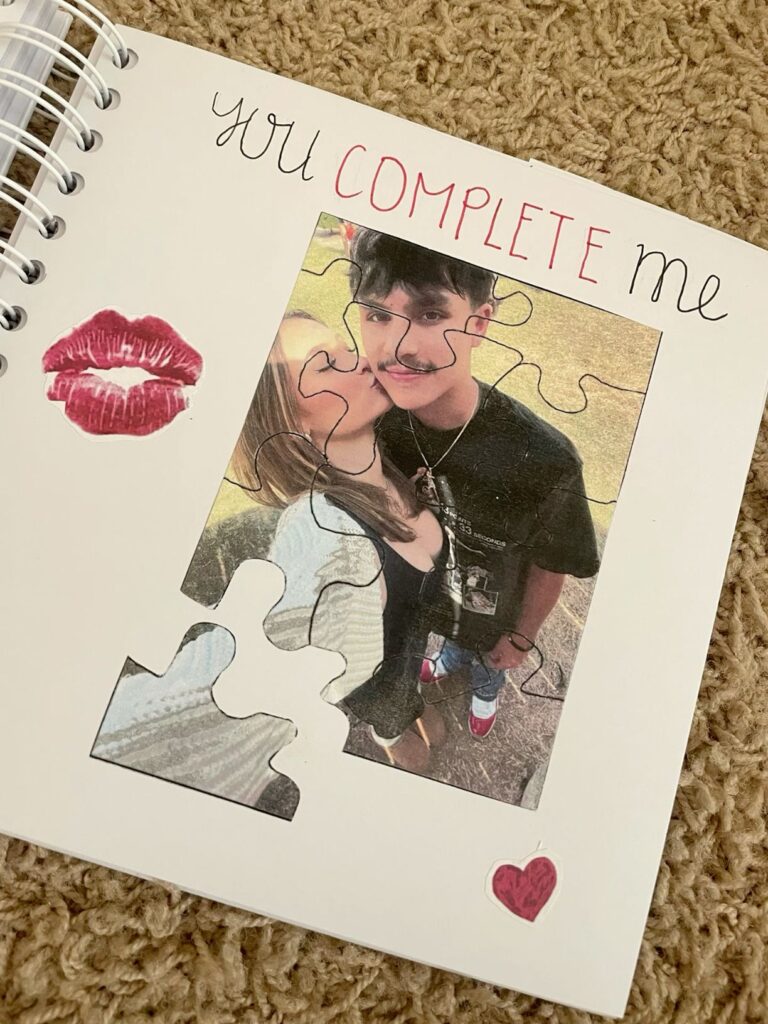
Mix Photo Sizes: Use a combination of small and large photos to create dynamic layouts.
#9
Use Black-and-White Photos: For a classy and timeless look, print some photos in black-and-white.
#10

Incorporate Washi Tape: Decorate the edges of your pages or secure photos with colorful washi tape for a fun touch.
#11
Include Decorative Borders: Use stencils, stamps, or stickers to create eye-catching borders around your photos.
#12
Layer with Transparent Pages: Add translucent paper with designs or notes for a layered effect.
#13
Add a Timeline: Create a chronological narrative to tell the story of a trip or family event.
#14
Use Calligraphy for Titles: Elevate your titles and headings with calligraphy or decorative fonts.
#15
Incorporate Quotes or Lyrics: Use meaningful quotes or song lyrics to complement your photo selection.
#16
Make It Interactive: Include flaps, pull-outs, or foldable elements for a tactile experience.
#17

Use Digital Tools: If you prefer, create some designs or text using digital platforms and print them for a polished touch.
#18
Combine Textures: Use materials like velvet, burlap, or lace to add texture and dimension to your pages.
#19
Create a Color Palette: Stick to a cohesive color scheme for a more professional and visually pleasing result.
#20
End with a Thank You Page: Dedicate the last page to thank anyone involved or reflect on the memories captured in your photo book.