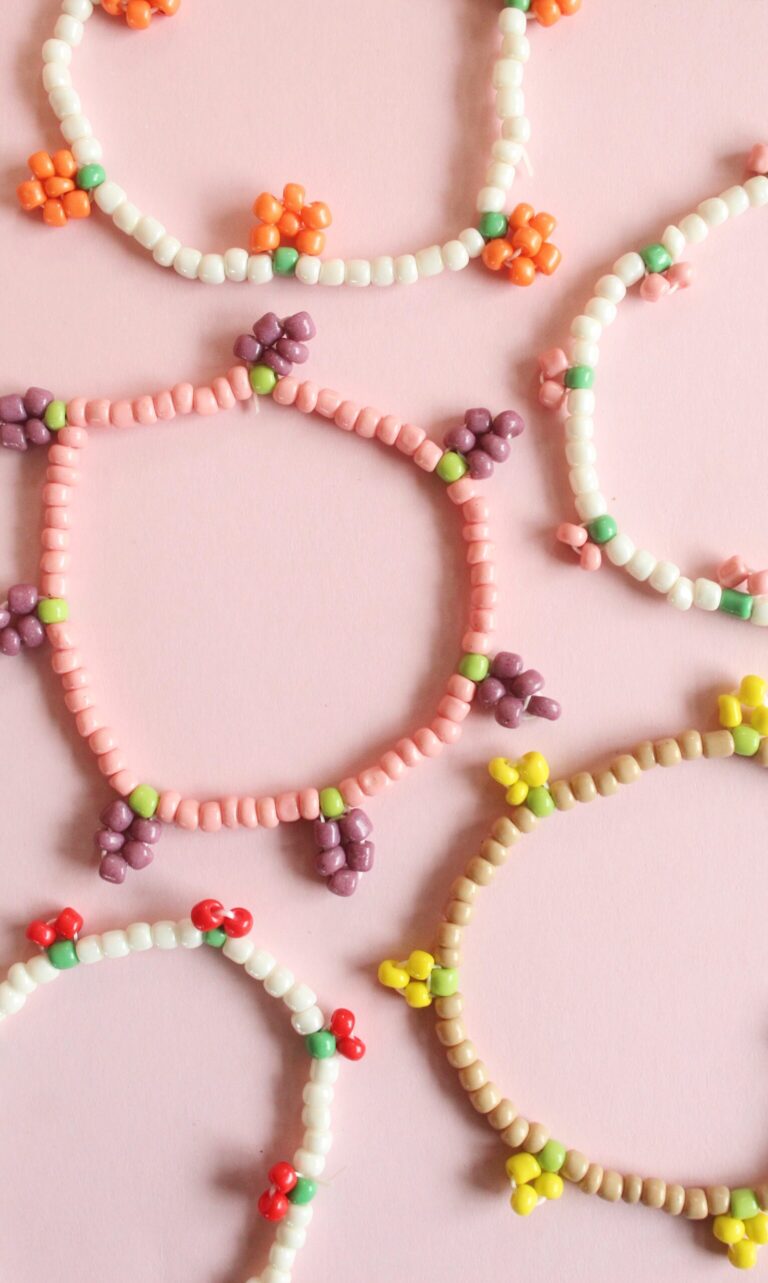
Using this straightforward instruction, you can learn how to make your own beaded fruit bracelets. Not only is this the ideal summer project, but it is also really simple and affordable to make. Continue reading to learn more!
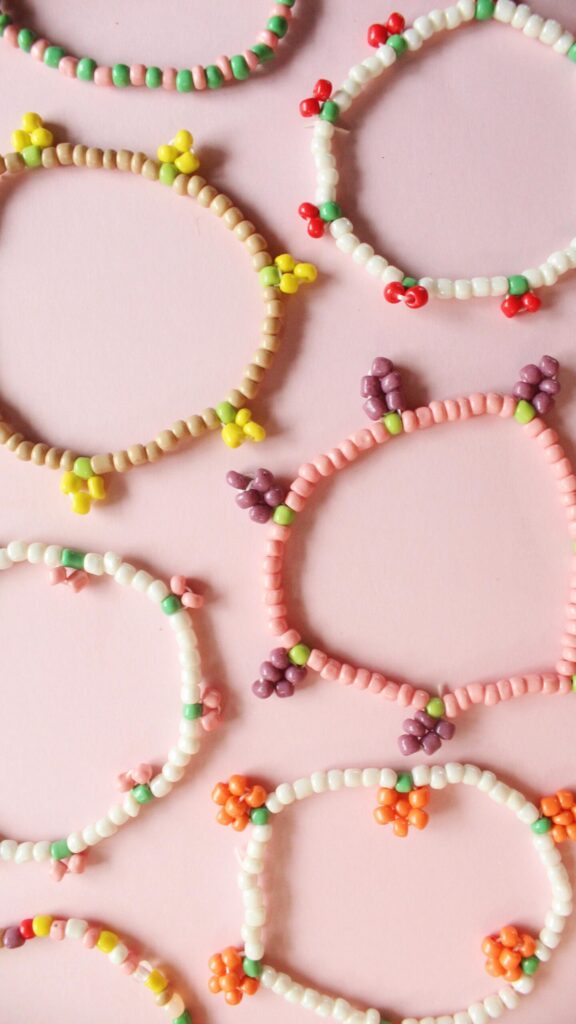
When we were making daisy bracelets with seed beads a couple of years ago, it was just when the styles of the nineties were beginning to make their way back into our closets and jewelry boxes. On the other hand, despite the passage of some time, we continue to come across seed bead projects that are both graphic and entertaining that are being worn by hip girls all over the internet.
As a consequence of this, we made the decision to experiment with yet another graphic seed bead project, and this time it is fruit! And while we were under the impression that there was no possible way that a daisy could ever be cuter than other flowers, these teeny-tiny cherries are giving the flowers a run for their money. They certainly are adorable.
What do you need to make seed bead bracelets?
If you want to make a bracelet out of seed beads with a graphic design, you need to have the correct string and a needle. When you have string that is too thick to fit through the beads, it can be extremely frustrating, especially considering the fact that you may have to thread the beads more than once.
It is also vital to have a needle for this craft because it will make it easier to thread the beads on and off multiple times.
In order to make this project one that is enjoyable and not one that makes you want to throw your bead organizer into oncoming traffic, you should make sure that the string is much thinner than the size of the hole in the bead. This is something that you should do depending on the size of the seed beads that you choose to use.
How do you make fruits with seed beads?
You can make any fruit you want to make after you figure out how to make just one of them. The first step is to thread a green bead, then proceed to thread the fruit-colored beads, and finally, loop the thread back through the green bead. Make sure to leave space between each fruit with the beads of your choice.
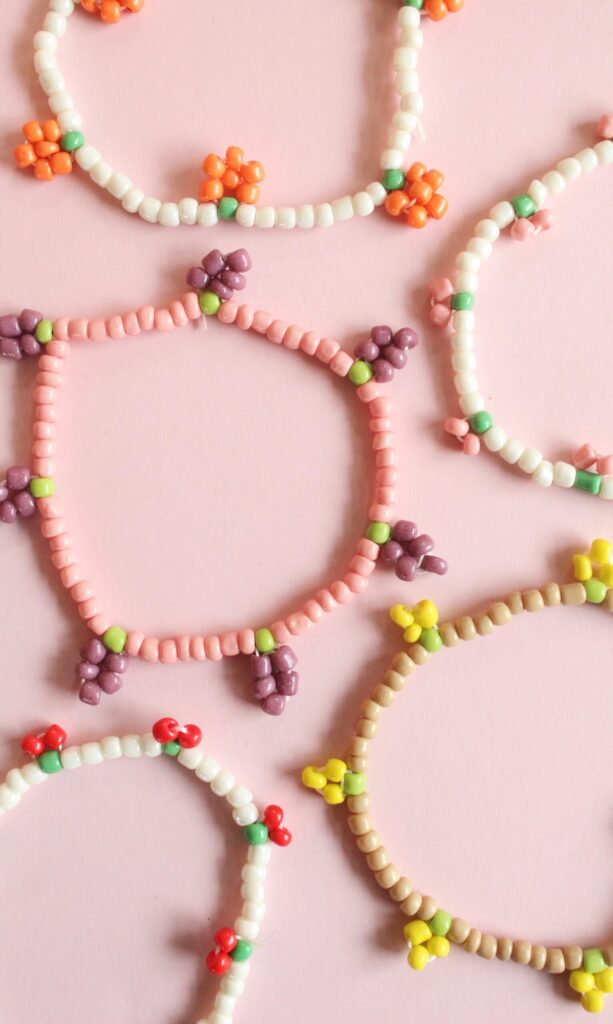
As an illustration, in order to create cherries using seed beads, you would first insert a green bead and two red beads into the thread, and then you would loop the thread back through the green bead. Using seed beads, you can create grapes by first threading a green bead and five purple beads through the thread, and then looping the thread back through the green bead.
Customize the appearance of the fruits you want to make by adjusting the colors and the number of beads!
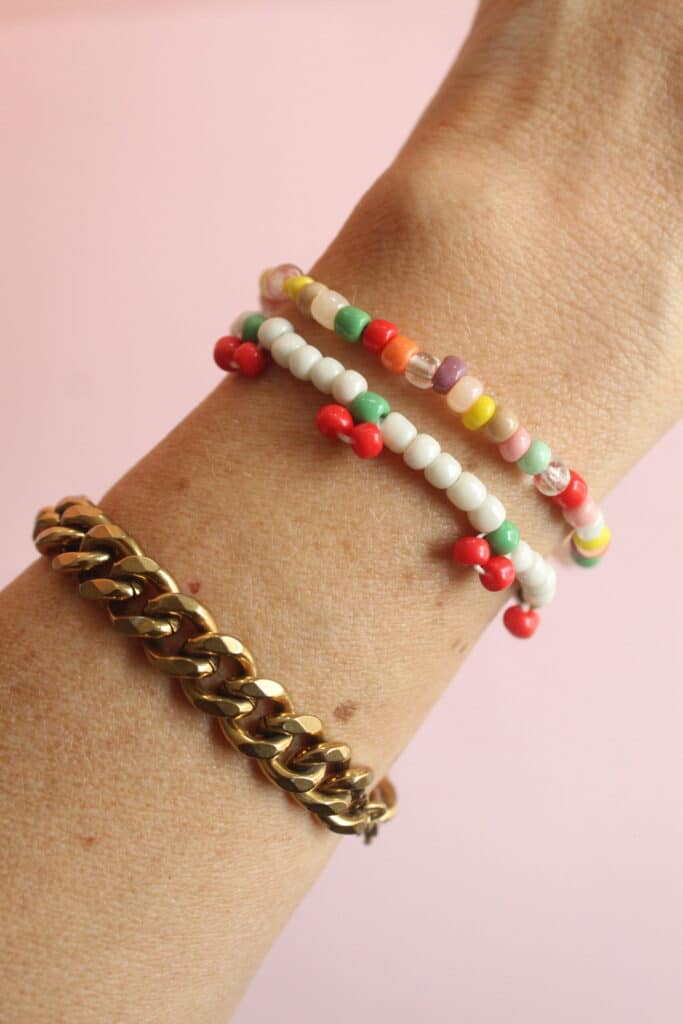
Supplies Needed to Make Fruit Seed Bead Bracelets
Seed Beads (You should be aware that the weight of the cord included in this kit is ideal for making bracelets, but it is not suitable for making cherries; thus, if you do not already possess some, you will need to purchase a cord with a lighter weight.
Cord for Jewelry (this set is available in a number of different weights)
Shears, a needle, and jewelry glue, scissors.
How to make DIY Beaded Fruit Bracelets with Seed Beads Step-by-Step
The first thing you need to do is cut a length of cord that is three to five inches longer than the length of cord you would need for a typical bracelet. To prevent any beads from falling off, string a bead to the end of the string and then tie it off.
Proceed to the second step, which is to thread your cord through the needle and string on the number of spacer beads that you desire. 5–7 of these were typically done by us.
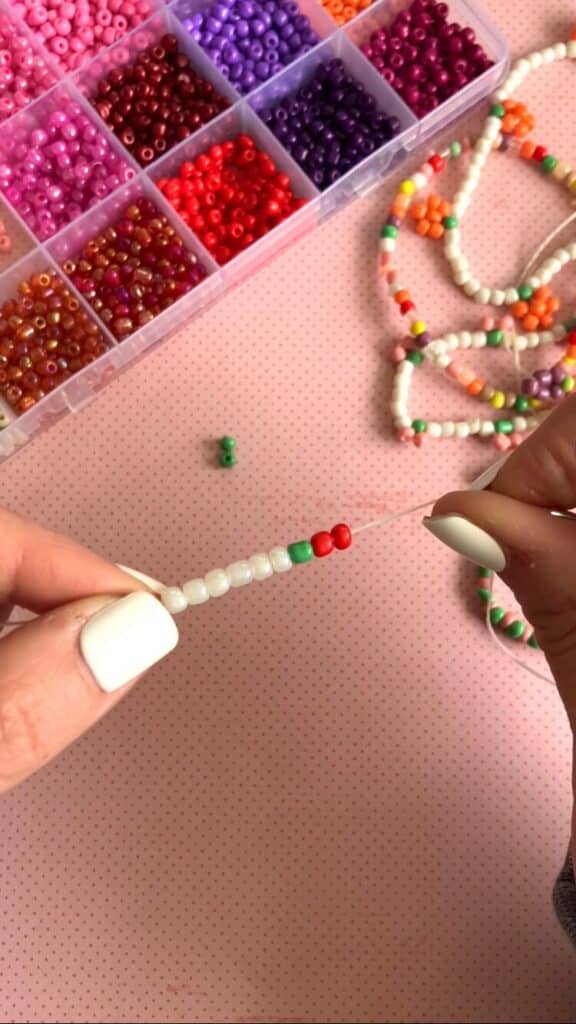
Place one green bead and two red beads on the string in the third step.
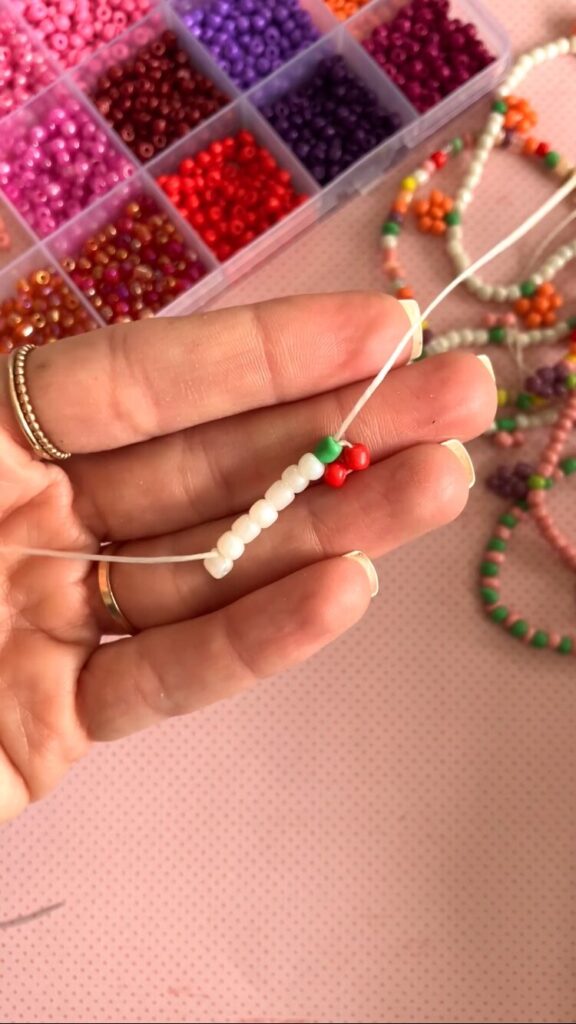
Proceed to the fourth step, which involves threading the needle through the green bead and then pulling the string or needle through the bead until the rope is taut. If you are more of a visual learner, the graphic that is provided below may be of assistance to you.
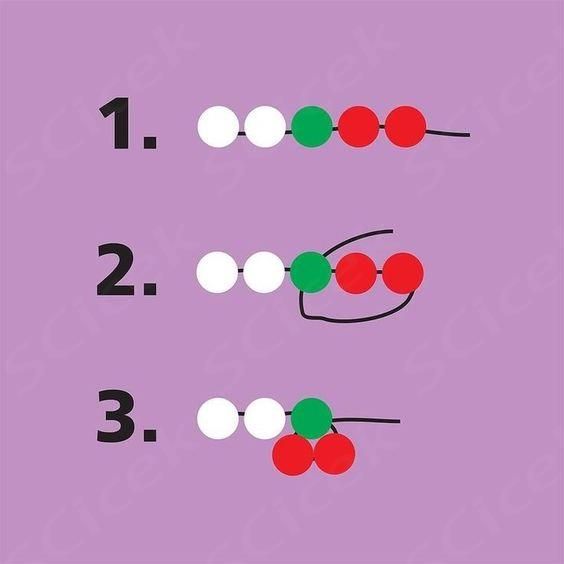
Step 5: Continue the procedure until your bracelet is finished by adding another group of spacer beads, another green bead, and two red beads. Repeat this step until your bracelet is finished.
To keep the string from slipping, the sixth step is to tie the ends of the string in a double knot and then add a thin layer of transparent nail polish or super glue to its surface. To finish, cut the remaining cord.
Instructions
The first step is to cut a length of cord that is three to five inches longer than the length of cord that you would need for a typical bracelet. To prevent any beads from falling off, string a bead to the end of the string and then tie it off.
After threading your cord through the needle, string on the number of spacer beads that you are interested in using. 5–7 of these were typically done by us.
A single green bead and two red beads should be strung on.
To make the rope taut, thread the needle through the green bead and then draw the string or needle through the bead until it is completely through.
A further group of spacer beads, a further green bead, and two red beads should be added, and the process should be repeated until your bracelet is finished creating.
The ends of the string should be tied in a double knot, and a thin layer of transparent nail polish or super glue should be applied on the string in order to prevent it from slipping. To finish, cut the remaining cord.


